This is the third in a series of blog posts describing the process I undertook to recreate the child-sized coat armour on display at the Musée des beaux arts in Chartres, France. The prior installments can be found here:
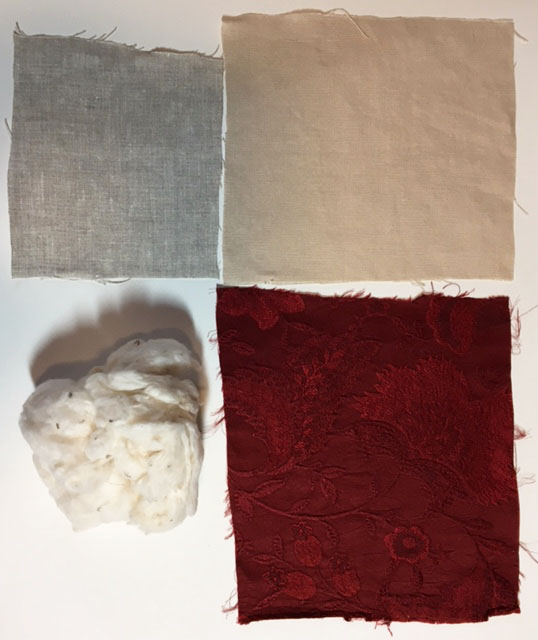
The truly laborious stage was upon me now. I had dyed the silk lampas, mapped out the exact reproduction-sized pattern, and had acquired key materials:
- Appropriately weighted and twisted threads in crimson silk and natural linen
- High-quality, off-white linen for the lining (washed, dried and ironed)
- Medium-quality, natural linen for the interfacing (washed, dried, and ironed)
- A large amount of raw cotton
- A big, white, plastic quilting frame.
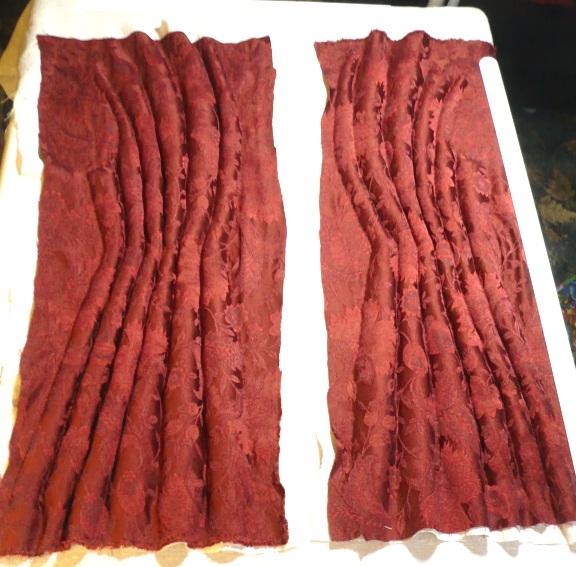
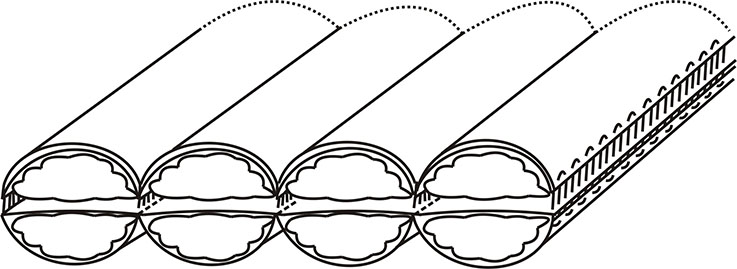
I deduced in the course of my examination of the coat that the complex padding and quilting design could best be executed with a quilting frame. The quilted channels are complex and variable in their size and curve. The cotton was placed between the quilt lines as well, rather than layered between fabric pieces and quilted through, sandwich-style. Given the variable nature of the channels, the least complicated way to proceed was to build the padding and quilting on top of a stretched-flat surface. Indeed, the original was made in two assemblies that bulged outward on their surfaces, but which lay relatively flat against each other on the inside. The give-away hint for the use of a frame is a D-shaped cross-section. Don’t forget to read my formal paper with my analysis if this topic interests you.

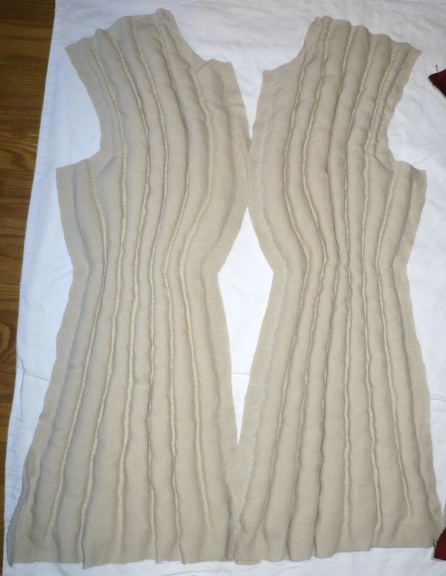
Since this entire garment was made from two mirror-images of padded and quilted assemblies, I decided to begin with the lining assemblies of the front pieces. First I prick-and-pounced the pattern stencil to transfer the lines and curves to a large rectangle of natural linen fabric. Then I reinforced the powdered ink with pen. This fabric would serve as the base upon which I would build the padding and quilting. The drawing of the pattern and quilt lines would be my guide. Because this fabric would never be seen anywhere on the finished garment, I used serviceable natural linen from fabrics-store.com.

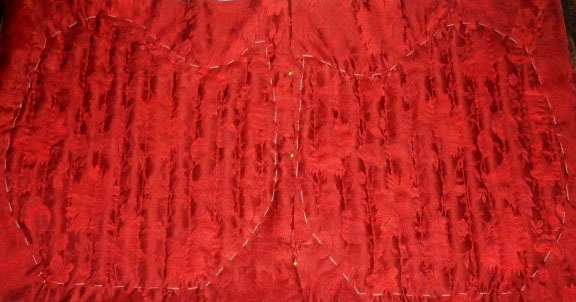
I stretched the stenciled fabric on my quilting frame. I then laid another rectangle of high-quality cream-colored linen down on top of the stretched linen base. This linen was a perfect match to that of the original coat’s lining. I found it on ulsterlinen.com. It was tight plain weave with even threads, no slubs, and was simultaneously buttery to the touch and sturdy. Beginning in the middle, I pinned the top layer to the stretched layer along a central quilting line. This involved lifting the fabric and checking the stencil guides on the base fabric at regular intervals.
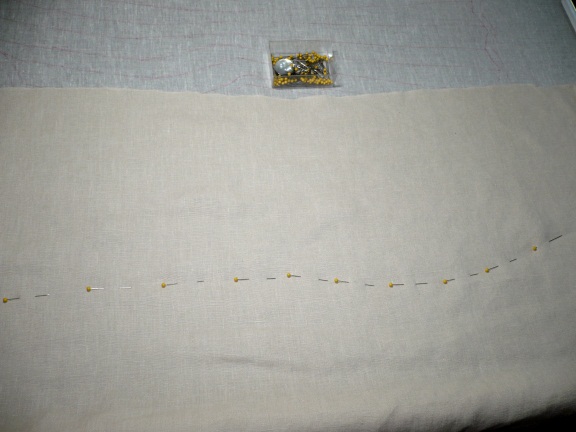
I stab-stitched the linen along this line, holding one hand above the frame and one below it to speed the stitching along. Stab-stitching is similar to running stitch, except that the needle is passed through the fabric at a perpendicular angle. Running stitch passes the needle at an angle well below 90°, because the needle is wiggling in and out of fabric layers before being drawn all the way through. Stab stitching is a sturdier stitch as a result because there is more thread moving between the layers for any given length of stitching.
When finished the first line, I folded the linen back to one side and placed a line of shaped, compressed, raw cotton padding up against the sewn join.

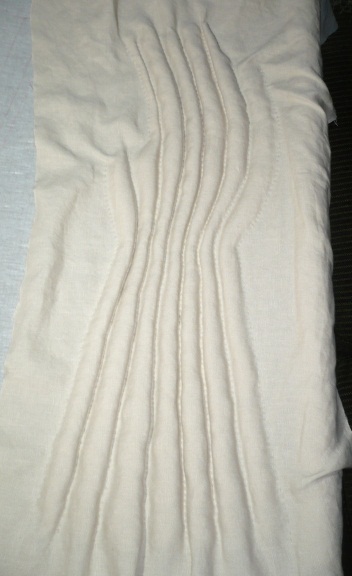
In retrospect, I included two errors in my handling of the cotton for this project. The first was the density I achieved in each channel’s padding. My results felt too pliable and airy, and I was never quite satisfied with it. In casual conversation in 2013 with a new friend, Christian Cameron, he wondered whether soaking the cotton in water and then squeezing it to the shape desired might be a better way to get increased density for each channel. I discussed this with another friend, Jessica Finley, sometime later in 2015, who immediately experimented with it. She generously sent me her sample results, based on the dimensions of the top half of a front piece of the coat armour I had studied. It turned out markedly more rigid and compressed than mine did. Unfortunately, you cannot experience this with a photograph, but here’s a picture of her sample:

To get the cotton in the shape needed to fill the flaring and curving channels, she did the following:
- Soaked bowed (see below), raw cotton in water until it was fully drenched,
- Drained it and then pressed it flat on a level surface (like a cookie sheet),
- Treated it like a sheet of thick paper and rolled it up tightly, pulling off or adding portions as needed to expand or contract the shape, and
- Used a rolling pin to squeeze out excess water from the rolled tubes of cotton.
She also tested two different oils soaked into the cotton and compared them to cotton that had been doused with water and then compressed as described above. OIL 1 was boiled linseed oil combined with carbon while OIL 2 was plain boiled linseed oil. OIL 2 made the tube incredibly stiff while OIL 1 did not, and the third tube—made stiff with water—had an ideal result. The cotton was packed densely but still had some give.
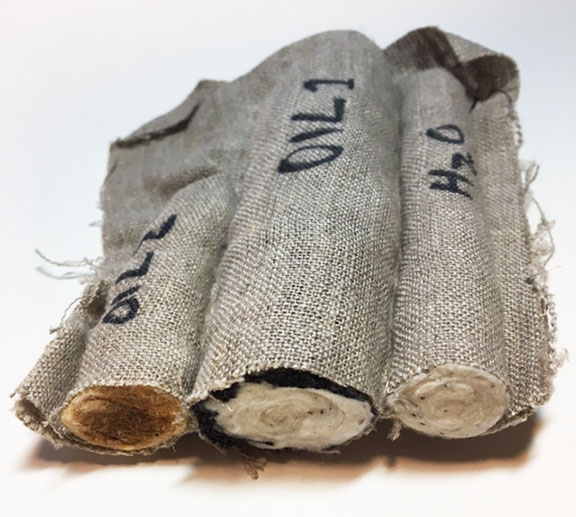
The second problem was lumpiness. I did not work hard enough at homogenizing the raw cotton to reduce lumps and clumps. Jess helped fill in a missing piece of this puzzle again when she found evidence of a historical method called “bowing”, which makes raw cotton fluffy and uniform. I think that would have greatly helped prepare the cotton for compression, had I known about it when making my reproduction. Here’s a video of her trying it out. She confirms that bowed cotton is far easier to compress into flat sections that can then be rolled into smooth, curved shapes.

I now think that bowing the raw cotton in combination with water-assisted compression is the best way to achieve the density required in the real coat armours of the 14th century. When applying silk on top of a water-damp wad of cotton, however, it will be up to future experimenters to decide whether to baste down the interlining until the cotton is dry and then more carefully stitch the silk on top (as Jess did in her experiment), or to take a chance and apply both the interlining and silk at the same time over the damp cotton. If any of you try these techniques, please do share your results with me.
Meanwhile back in 2012, I folded the fabric back over the line of wadded cotton and pinned down along the next quilting line. I replaced the pins with another row of hand-stitching. I repeated this process, working outward from the center. Working from the center outward helps to minimize the fabric’s grain distortion as it is sewn down over humps of cotton with varying degrees of height and width in different areas.
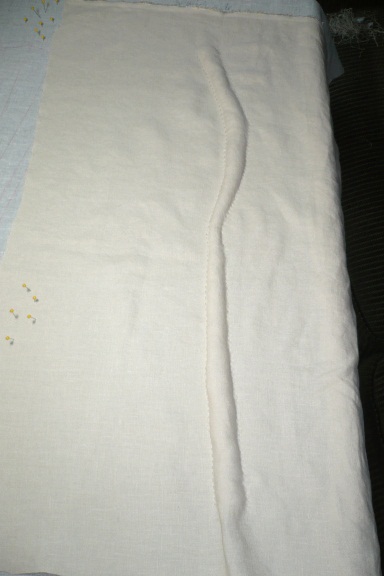

When I reached the center-front opening, I then worked from the center to the side seam.
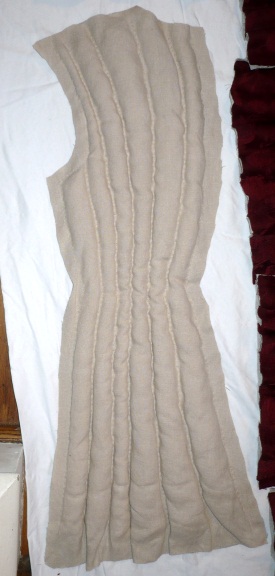
I continued this work from the center outward until the lining assemblies of both front pieces were completed.
While the single piece of base linen was cut large in order to fit two pattern pieces entirely on the quilting frame, I cut the finer linen smaller for the process of covering over and quilting the cotton in place. I took a guess at how much width to allow, though there were two other ways I could have arrived at a more precise measurement for the fabric width.
- While examining the original, I could have molded a measuring tape over every hump in each pattern piece’s widest points to find the width of the original fabric.
- Or, I could have used math—π × diameter/2, where diameter = width of the widest channel—to find an approximate width of fabric used to create each channel. If one were to slice a channel in half to look at its cross-section, it would look similar to a semi-circle or the letter “D” turned sideways, hence the formula for finding a circle’s circumference, divided by 2.
I moved on to creating the linings for the back pieces and the sleeves next. When I completed all lining assemblies, I cut out the body pieces with a generous seam allowance included. I left the sleeves attached to the original base fabric rectangle because I would eventually pad and quilt the other side of that fabric with the silk crimson assembly. More on that later below.
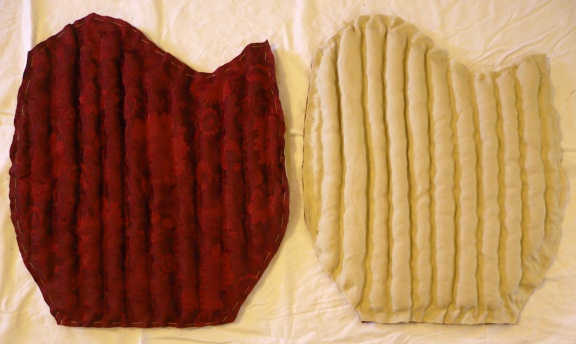
I then repeated the entire process for the outer body piece assemblies topped in crimson silk lampas. I used the undyed linen as the base layer as well as for the interlining mentioned above, which reinforced the fine silk. I used the modest, undyed linen for these layers of fabric because they would be out of sight once the garment was finished. Turns out I was incorrect on this matter. In the next post in this series, I’ll show you exactly where I went wrong and how I fixed it.


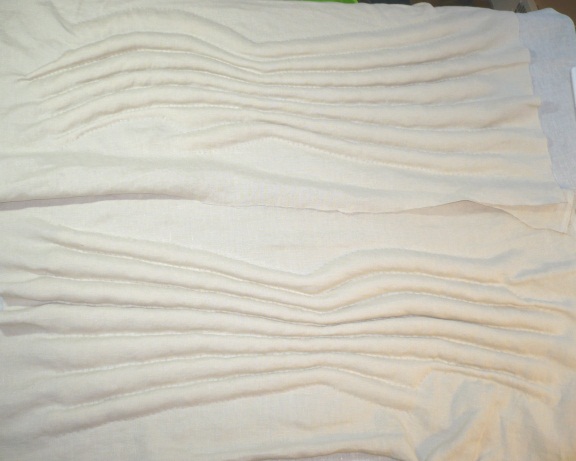
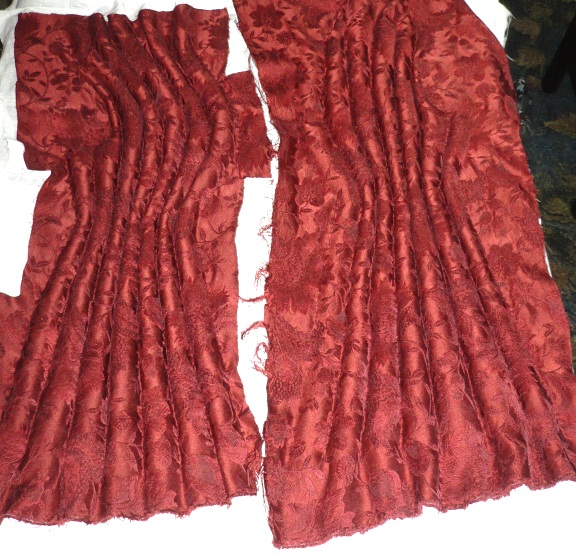
On the right front piece, I mis-judged the width of the fashion fabric needed. I had to patch a small section as seen on the left in the photo below. On the finished garment, this mistake is virtually invisible.
For the sleeves, I had to flip over the sleeve lining assemblies finished earlier and re-stretch them on the frame. The original coat’s sleeves were made this way—both the lining and outer assemblies were attached to the same base linen piece. This is why the sleeve was made of 6 layers of material while the body pieces were made of 7 layers. The lining and outer body pieces each had their own base layer of linen. As with the body assemblies, I used the fine crimson lampas and an interfacing of undyed linen for support to complete the outer portion of the sleeves. I stitched the quilt lines slightly off-center from the lining’s quilt lines to avoid making the crimson thread visible on the lining side.
At last, I completed all assemblies and was ready to sew them together!

These garments were hefty and highly structured. Quilting frames enabled makers to put together thick and complex padded and quilted assemblies with relative ease. Embroiderers used frames in this time period for the same reasons pourpointiers, gambeson, and coat armour makers did—they make it extremely easy to control the materials involved. Without a tense base, you have to wrestle your materials quite a bit more and may even require special tools to control them. This is a clear-cut case for the use of Occam’s Razor. In addition, a D-shaped cross-section for any padded and quilted assembly reveals frame usage.
If you have the ability to make an adjustable frame that can be held on a sturdy base, all the better. I made due with a fixed-size frame and had to waste a lot more base linen as a result. Your frame needs to be held by something other than you, because you will need both hands free for the quilting.
In the next installment, I’ll show you how I sewed everything together, added buttons and buttonholes, and finished all the edges using the techniques found on the original. Stay tuned for that monster of a post next week! Update: Sewing It All Together, the final post.
4 thoughts on “Charles VI Coat Armour Repro, Part 3: Padding and Quilting on a Frame”
Just wanted to let you know this is amazing. I found it looking for a gambeson pattern for my daughter, not sure I’ll be apple to push the boats out like this but it’s something to aspire to, perhaps when she won’t likely grow out of it in a couple of years. I’m probably going to try for an earlier period style, any recommendations you might have would be very welcome.
Thank you! I would definitely not do this level of work for a growing body — if you are looking to make a gambeson, you could always go a more modern way and use cotton quilt batting as well as a sewing machine and save yourself a lot of trouble. Also, if going for an earlier time period, it won’t have the shaping of this garment. It’ll probably be more straight up and down. It all depends on how much historical accuracy you are striving for. Best of luck!
Thanks a lot for returning to this project! There are many things learned in reconstruction projects which never get written out in full and made available for others to use (and it sounds like you have been talking to other linen armourers since you made your reproduction and wrote your article).
Pingback: Panzar III – Quilting | Panzarsork